So, you’re tired of your bare windows and those boring vertical blinds, but you’re renting, or living in a dorm room and don’t want to risk your security deposit by drilling holes all over the place or simply just want the easiest way to transform your living space without all the hassle. Fear not! Hanging curtains without nails or drilling is easier than you think. In fact, it can be a fun DIY project that transforms your space from drab to fab with minimal effort and cost. Let’s dive into the best methods for no-drill curtain hanging, perfect for rental apartments, dorm rooms, or any space where drilling isn’t an option. These are the perfect solution to temporary or permanent changes.
Why Consider No-Drill Curtain Solutions?
Before we dive into the methods, let’s explore why no-drill curtain hanging can be beneficial:
- Rental-Friendly: Ideal for tenants who want to avoid losing their security deposit.
- Versatility: Easy to change and reposition as your decor preferences evolve.
- Wall Protection: Prevents damage to walls, especially beneficial for older homes or unique wall materials.
- Temporary Solutions: Perfect for short-term living situations or seasonal decor changes.
- Easy Installation: Most methods require minimal tools and DIY skills.
Now, let’s explore various methods to hang curtains without drilling.
PIN THIS:

As an Amazon Associate I earn from qualifying purchases. Therefore, this post may contain affiliate links, meaning I make a small commission on qualifying purchases made through these links, at no additional cost to you.
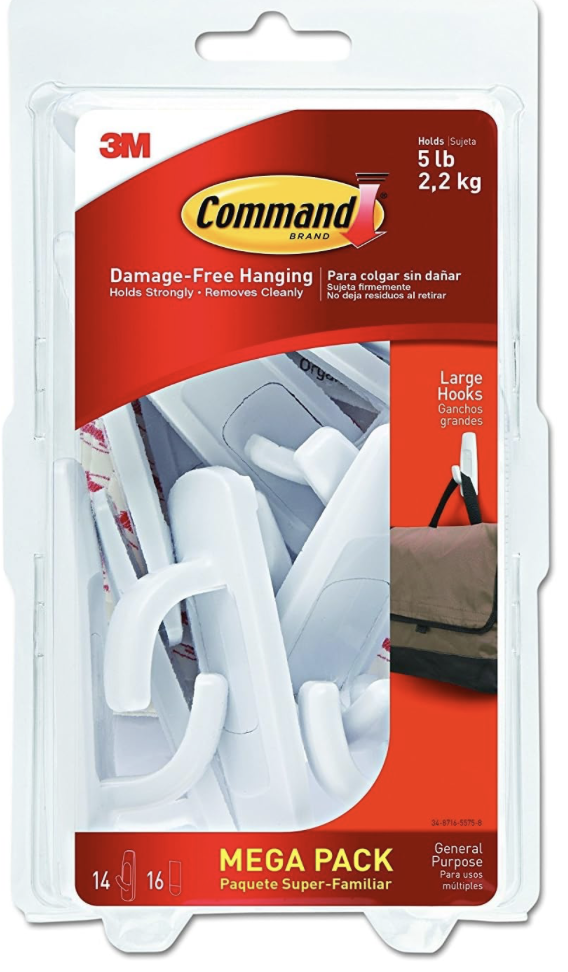
1. Command Hooks: The Versatile Solution
Command hooks are a popular choice for their strength and ease of removal.
What You’ll Need:
- Large Command hooks (aim for hooks that can hold at least 5 pounds each)
- Lightweight curtains (under 10 pounds total weight)
- Curtain rod (tension or lightweight decorative rod)
- Rubbing alcohol
- Clean cloth
Detailed Steps:
- Clean the wall surface thoroughly with rubbing alcohol.
- Mark the placement for your hooks, ensuring they’re level.
- Apply Command hooks following package instructions:
- Attach adhesive strips to hooks.
- Remove protective backing and press firmly against the wall for 30 seconds.
- Wait at least an hour before hanging anything.
- Rest your curtain rod on the hooks.
- Hang your lightweight curtains.
Pro Tips:
- Use two hooks on each side for extra stability.
- Check weight limits on the packaging and ensure your curtains don’t exceed this.
Why It’s Great:
- No wall damage
- Easy to adjust and remove
- Versatile for various window sizes
SHOP THESE ITEMS:
2. No-Drill Curtain Tracks: The Modern, Sleek Option
For a contemporary look, adhesive curtain tracks offer a sleek, minimalist appearance.
What You’ll Need:
- No-drill curtain track with adhesive backing
- Curtains designed for track systems (with gliders or hooks)
- Rubbing alcohol
- Clean cloth
- Measuring tape
- Level
- Pencil
Detailed Steps:
- Measure and plan your track placement.
- Clean the mounting surface thoroughly.
- Mark the track position with a pencil, using a level.
- Assemble the track if it comes in sections.
- Remove the protective backing and carefully apply the track to the wall or ceiling.
- Press firmly along the entire length to ensure good adhesion.
- Insert curtain gliders or hooks into the track.
- Attach your curtains to the gliders or hooks.
Pro Tips:
- For longer tracks, ask for help to ensure straight installation.
- Consider using a hair dryer on low heat to warm the adhesive slightly for stronger bonding.
Why It’s Great:
- Offers a modern, minimalist look
- Allows curtains to glide smoothly
- Can be used with various curtain styles
SHOP THESE ITEMS:
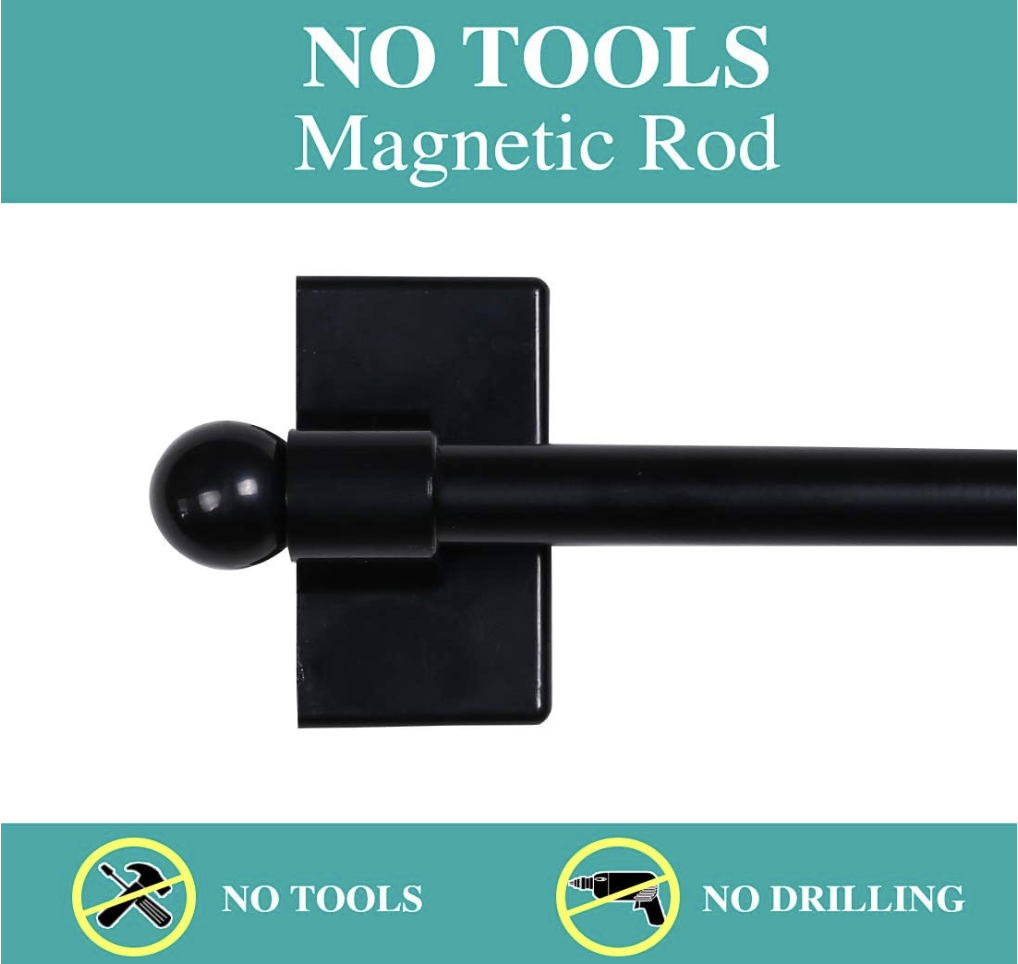
3. Magnetic Curtain Rods: Perfect for Metal Window Frames
If you have metal window frames, magnetic curtain rods offer an elegant solution.
What You’ll Need:
- Magnetic curtain rods
- Lightweight curtains
- Measuring tape
Detailed Steps:
- Measure the width of your metal window frame or surface.
- Select a magnetic curtain rod that fits your measurements.
- Clean the metal surface where the rod will attach.
- Carefully place the magnetic rod onto the metal surface.
- Slide your curtains onto the rod before or after attaching.
Pro Tips:
- Ensure curtains are lightweight to prevent overloading the magnetic connection.
- For wider windows, consider using two magnetic rods side by side.
Why It’s Great:
- Quick and easy installation
- Works well with metal window frames or surfaces
- Easily removable and repositionable
SHOP THESE ITEMS:
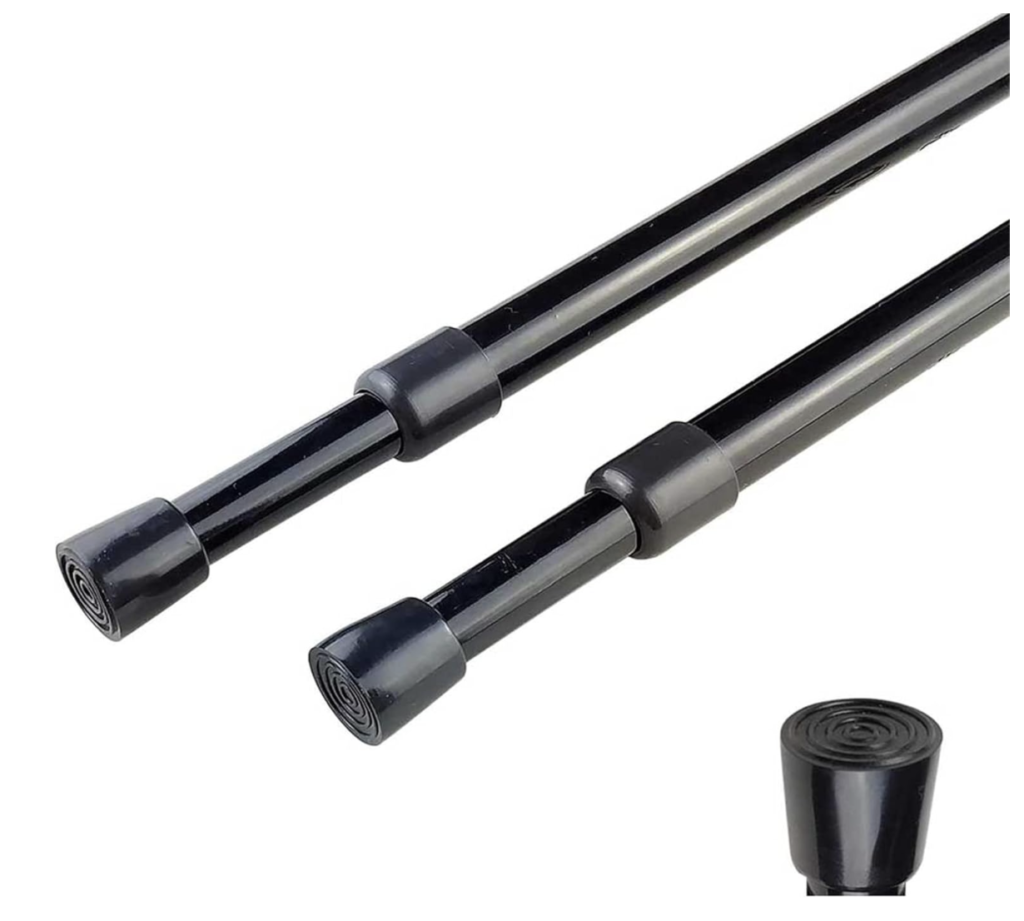
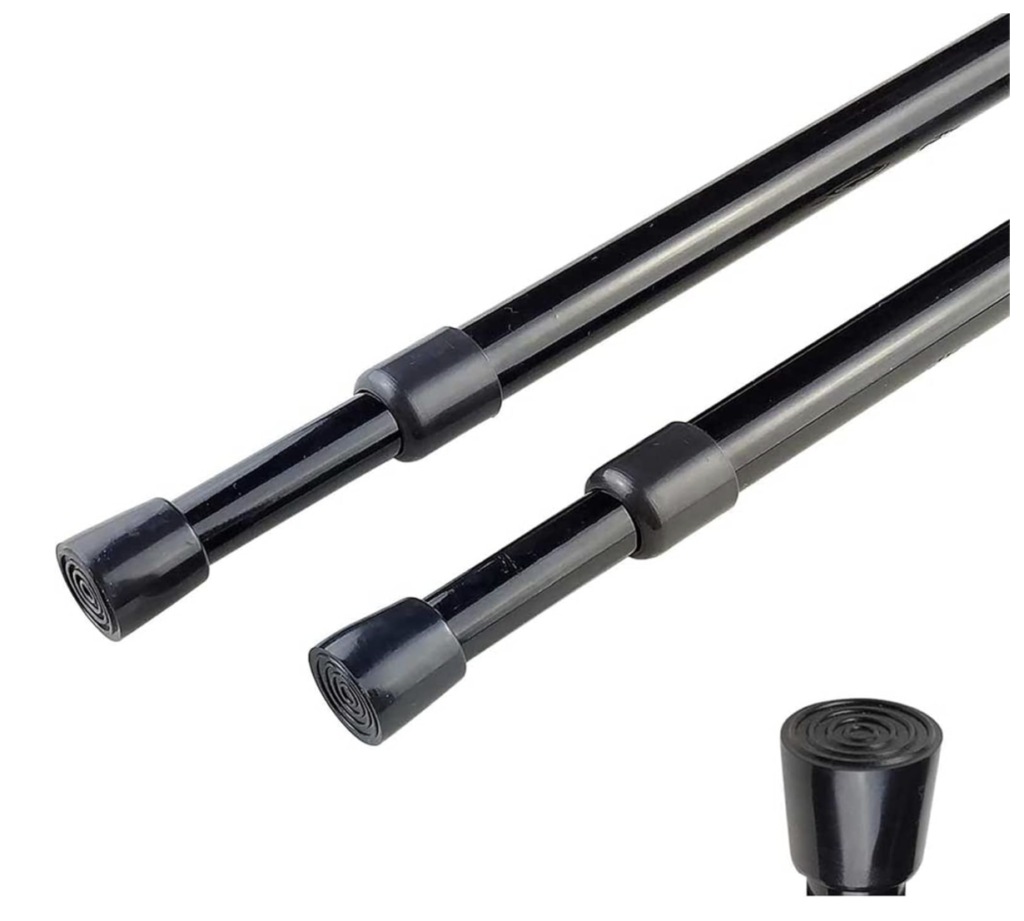
4. Tension Rods: The Classic No-Drill Solution
Tension rods are a time-tested solution that works by creating pressure between two surfaces.What You’ll Need:
- Adjustable tension rod
- Lightweight curtains
- Measuring tape
- Non-slip rubber pads (optional)
Detailed Steps:
- Measure the inner width of your window frame.
- Select a tension rod that extends slightly beyond this width.
- Adjust the rod to be slightly longer than the measured width.
- Place the rod inside your window frame, ensuring it’s level.
- Extend the rod to create tension against the sides of the frame.
- Slide your curtains onto the rod.
Pro Tips:
- For wider windows, use two tension rods side by side.
- Add non-slip rubber pads to the ends for extra grip.
- Periodically check and re-tighten as needed.
Why It’s Great:
- Completely damage-free
- Easily adjustable and removable
- Works with various window types
SHOP THESE ITEMS:
5. Adhesive Strips with Curtain Rod Brackets: For a Traditional Look
This method combines heavy-duty adhesive strips with curtain rod brackets for a more traditional appearance.
What You’ll Need:
- Heavy-duty adhesive strips (like Command Picture Hanging Strips)
- Curtain rod brackets
- Curtain rod
- Lightweight to medium-weight curtains
- Rubbing alcohol
- Clean cloth
- Measuring tape
- Level
Detailed Steps:
- Clean the wall areas where brackets will be attached.
- Measure and mark bracket positions, using a level to ensure they’re even.
- Attach adhesive strips to brackets according to package instructions.
- Remove protective backing and press brackets firmly against the wall for at least 30 seconds.
- Wait the recommended time before hanging (usually about an hour).
- Install the rod and hang your curtains.
Pro Tips:
- Choose adhesive strips rated for the combined weight of brackets, rod, and curtains.
- Use extra strips for added security.
Why It’s Great:
- Allows for a traditional curtain rod look
- Can support heavier curtains than some other no-drill options
- Offers flexibility in curtain rod styles
SHOP THESE ITEMS:
Creative Curtain Ideas for Different Window Sizes
Curtains for Small Windows
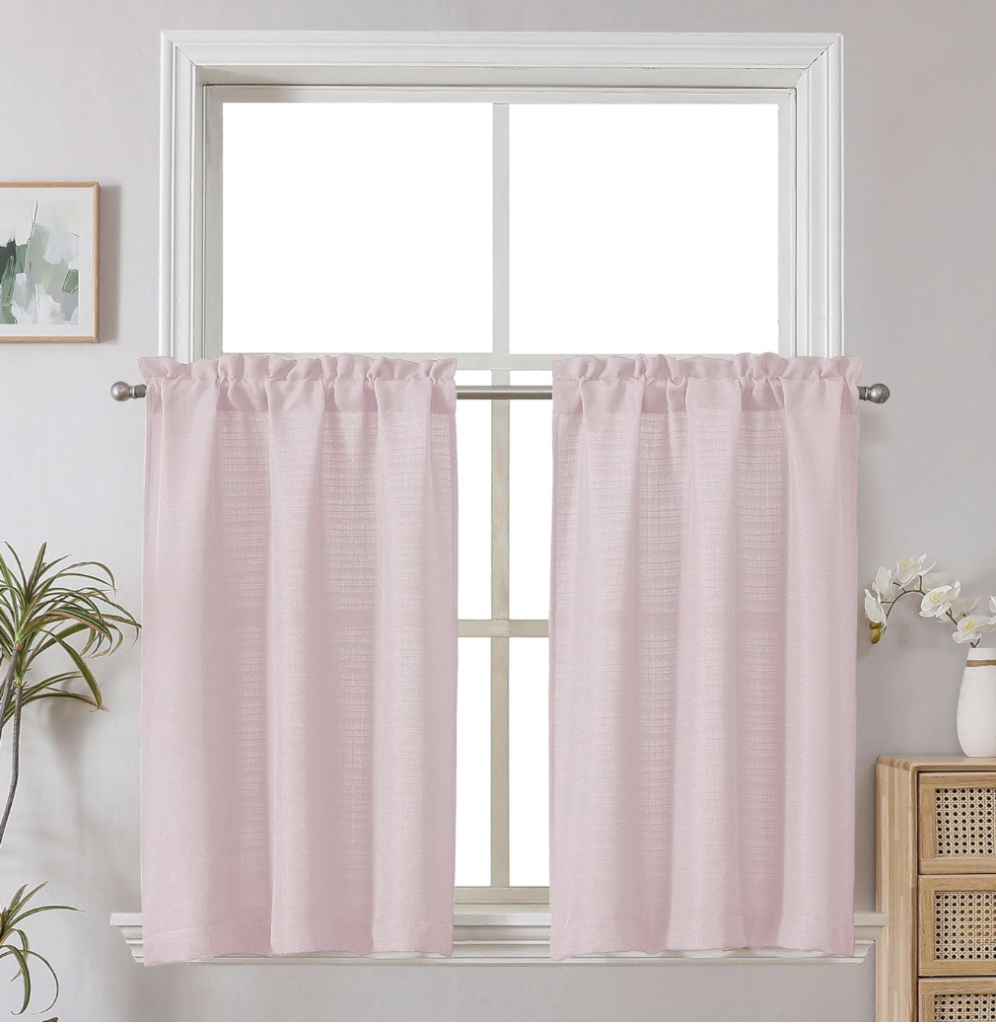
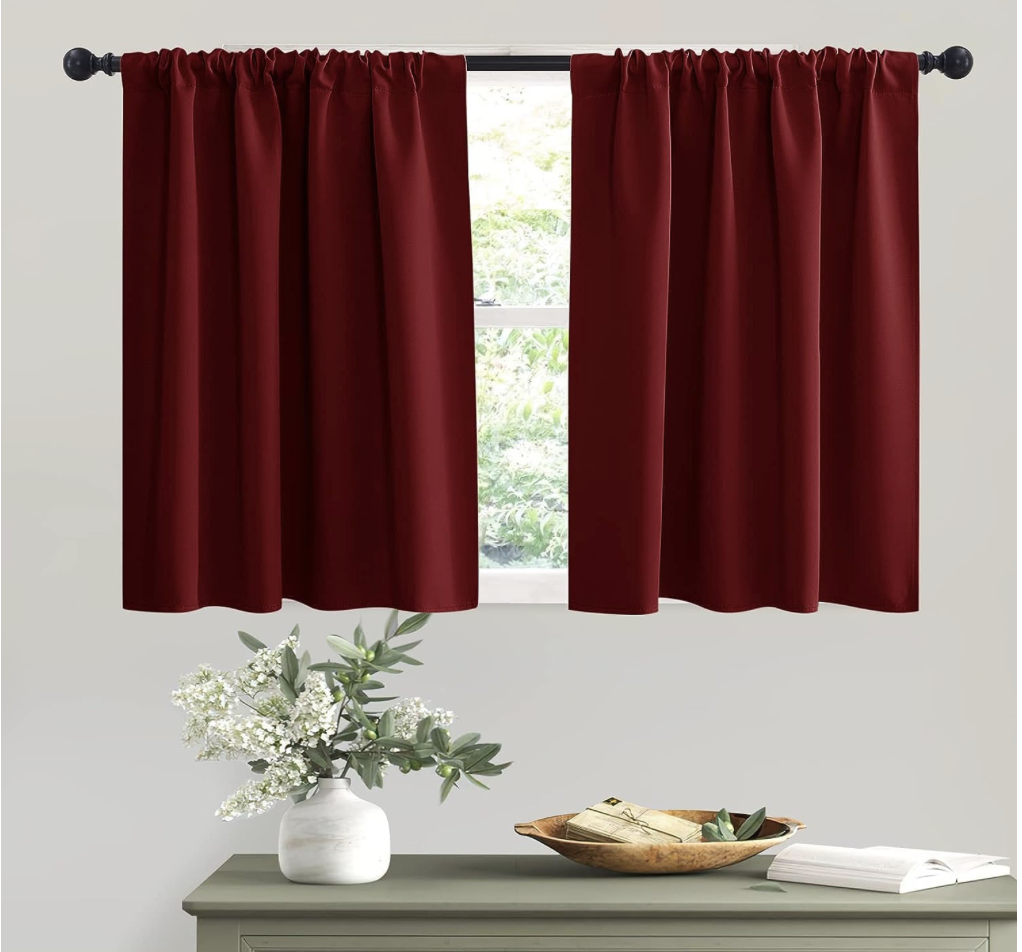
- Cafe Curtains: Use a tension rod or Command hooks to hang cute cafe curtains halfway up the window.
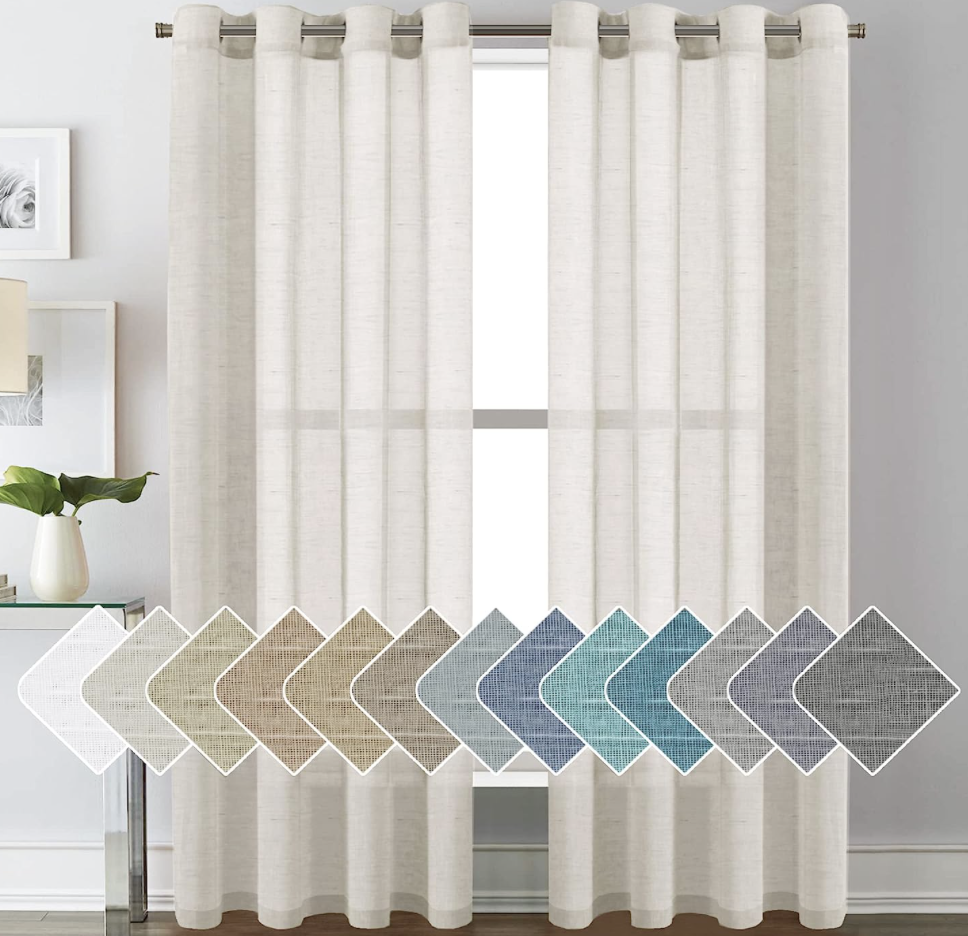
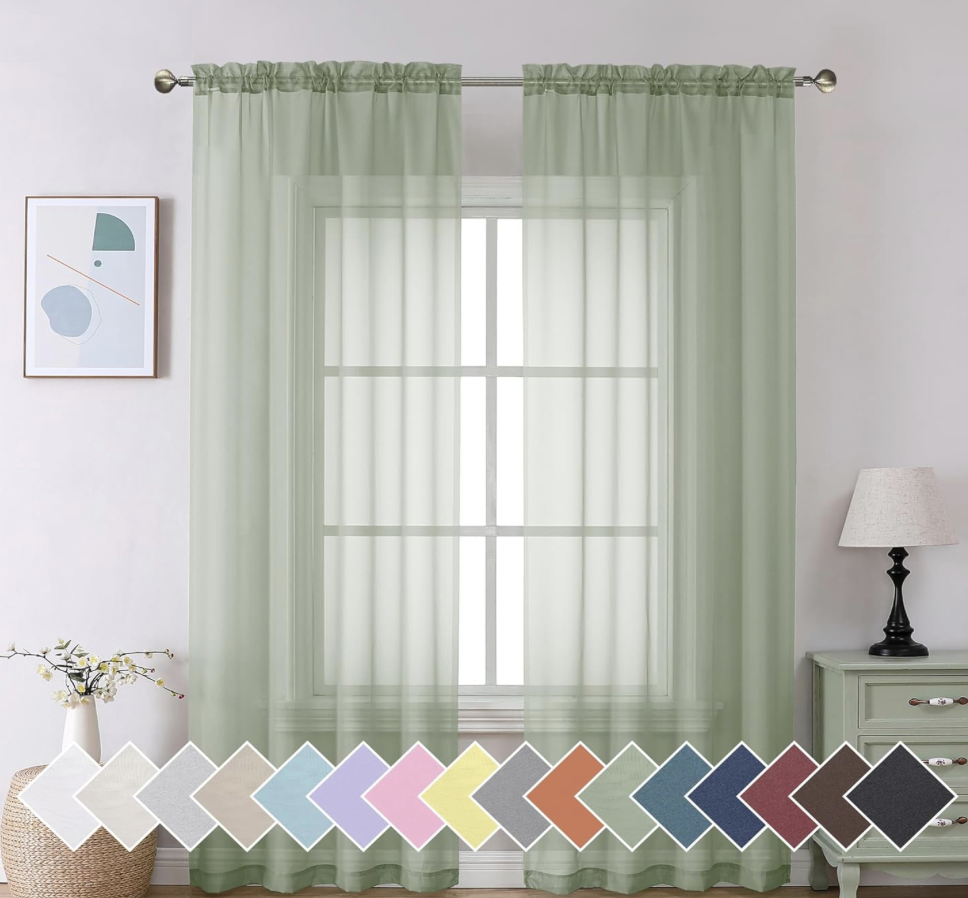
- Sheer Panels: Light, airy sheer panels can be hung using magnetic rods or adhesive hooks for a breezy look.
SHOP THIS LOOK:
Curtains for Large Windows
- Layered Curtains: Combine sheer and blackout curtains using multiple tension rods or a combination of magnetic rods and adhesive hooks.
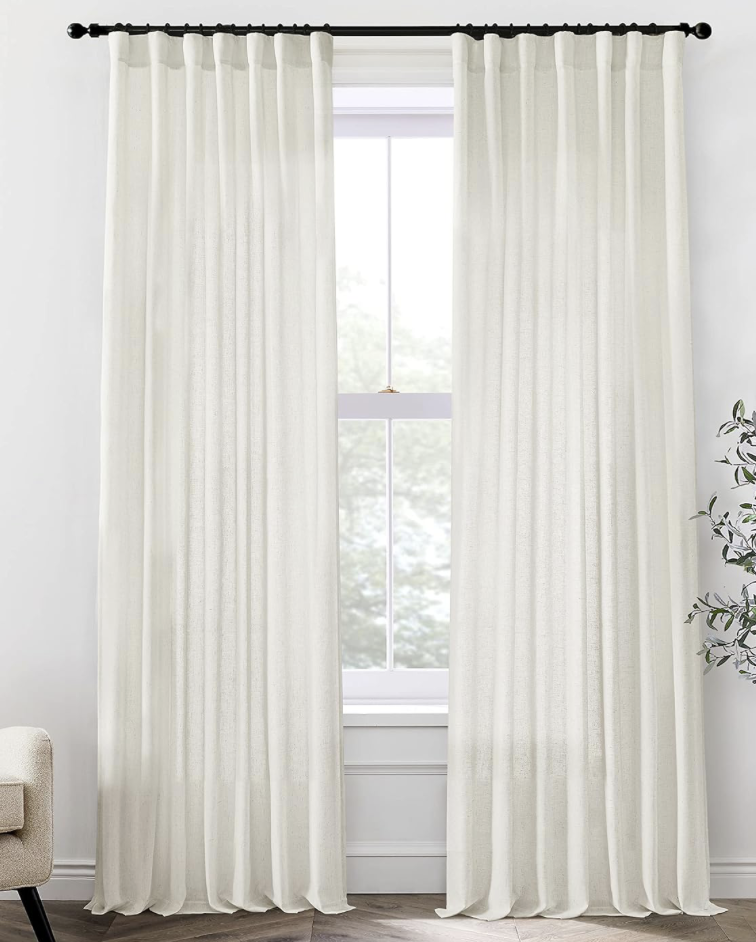
- Drapery Panels: Use self-adhesive hooks and sturdy brackets to hang full-length drapes for a dramatic effect.
SHOP THIS LOOK:
The Best Method for Your Space
Hanging curtains without nails or drilling doesn’t have to be a headache. Whether you’re in a rental apartment, dorm room, or simply want an easy method to spruce up your space, these alternative methods offer flexibility and style without the hassle. From Command hooks to magnetic rods, there’s a solution for every window and every style.
Remember, the best method depends on your specific needs and the weight of your curtains. Lightweight curtains can easily be managed with Command hooks or tension rods, while heavier curtains may require the extra support of self-adhesive hooks and sturdy brackets.
So, go ahead and give your windows a makeover without worrying about damaging your walls. Happy decorating!








Leave a Reply